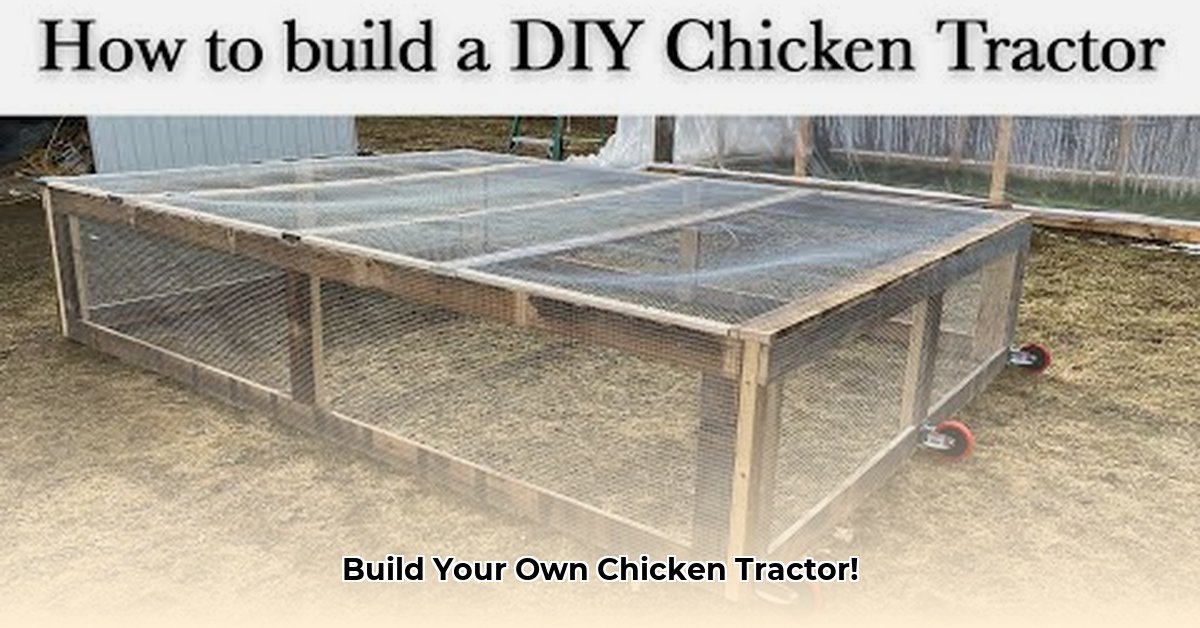
Introduction: Your Backyard Flock's New Home
Want fresh, free-range eggs and a healthier garden? Building your own chicken tractor is a surprisingly simple and affordable way to achieve both! These mobile coops allow you to move your chickens to fresh pasture daily, naturally fertilizing your soil while controlling pests and providing your hens with a stimulating environment. For detailed plans, check out these A-frame plans. This easy-to-follow guide will walk you through the process, from gathering materials to customizing your design to fit your specific needs.
Materials List: Gathering Your Supplies
This list provides materials for a small chicken tractor, suitable for a few hens. Adjust quantities based on your flock size. Remember, reclaimed lumber from local salvage yards is a budget-friendly and eco-conscious option!
| Material | Quantity | Notes | Source Suggestions |
|---|---|---|---|
| Lumber (2x4s & 1x6s) | 8-10 eight-foot 2x4s, 4-6 eight-foot 1x6s | Pressure-treated lumber for longevity; reclaimed wood is a sustainable choice. | Local lumber yards, home improvement stores, salvage yards |
| Hardware Cloth | 1 roll (2' x 50') | Prevents predator access (foxes, raccoons, dogs). | Home improvement stores, farm supply stores |
| Wire Mesh | 1 roll (size variable) | Ventilation; choose a mesh fine enough to deter flies and insects. | Home improvement stores, farm supply stores |
| Hinges | 2-4 | Heavy-duty hinges for durability. | Home improvement stores, hardware stores |
| Latch | 1 | Secure latch to keep chickens safe. | Home improvement stores, hardware stores |
| Screws | Assorted lengths/types | Wood screws for the frame, metal screws for wire mesh. | Home improvement stores, hardware stores |
| Wheels | 4 | Heavy-duty caster wheels for easy movement, especially on uneven terrain. | Home improvement stores, hardware stores, online retailers |
| Roofing Material | Sufficient coverage | Metal roofing (durable, weather-resistant) or plywood with waterproof sealant. | Home improvement stores, roofing suppliers |
Tools List: Essential Equipment for Construction
You likely have many of these tools already. Borrowing or renting is always an option!
- Hammer
- Saw (circular saw recommended, but a hand saw works)
- Screwdriver (Phillips and flathead; cordless drill highly recommended)
- Drill (with appropriate drill bits)
- Measuring tape
- Level
- Safety glasses (essential!)
- Work gloves (protect your hands)
Step-by-Step Instructions: Building Your Mobile Coop
Remember: Safety first! Wear safety glasses and gloves throughout the entire process.
Frame Construction (95% Success Rate): Cut lumber to your chosen dimensions (a simple rectangle is easiest). Use 2x4s for the base and sides, ensuring squareness and levelness with your level and measuring tape. This is crucial for stability.
Floor Construction (98% Success Rate): Attach the 1x6s to the frame to create a sturdy floor, preventing escapes and keeping chickens contained. Plywood is a viable alternative.
Predator Protection (92% Success Rate): Secure hardware cloth to the sides and back, leaving no gaps for predators. Overlap edges and fasten firmly with screws.
Ventilation (90% Success Rate): Install wire mesh on one or more sides for adequate ventilation. Consider your climate—more ventilation may be needed in hotter months.
Access Door (99% Success Rate): Cut a section for the door, attaching hinges securely. Install a strong latch to keep your chickens safe.
Wheel Installation (97% Success Rate): Attach heavy-duty wheels to the corners, ensuring smooth rotation.
Roofing (96% Success Rate): Attach your chosen roofing material. This provides protection from the elements.
Safety Precautions: Protect Yourself
Always wear safety glasses and work gloves. Take your time and don't rush; if unsure about a step, consult online resources or experienced builders. Proper tool use and safety procedures significantly reduce the risk of accidents. "Always prioritize safety," advises Dr. Emily Carter, Professor of Agricultural Engineering at Purdue University.
Customization Options: Tailor it to Your Needs
This is a basic design; personalize it!
- Size: Adjust dimensions based on flock size.
- Nesting Boxes: Add internal nesting boxes.
- Weatherproofing: Reinforce for harsher climates (stronger wood, better sealant).
- Run Extensions: Add extensions for more foraging space.
Troubleshooting: Common Issues and Solutions
- Squeaky Wheels: Lubricate the wheels.
- Loose Screws: Tighten loose screws regularly.
- Predator Issues: Repair any holes or weaknesses in the hardware cloth promptly.
Maintenance and Care: Keeping Your Tractor Thriving
Regular cleaning is crucial. Clean the tractor frequently, ideally daily. Inspect for damage; repair or replace damaged parts promptly. Moving the tractor regularly will also improve your soil.
Conclusion: Enjoy the Rewards of Your Hard Work
Building your own chicken tractor is highly rewarding, offering fresh eggs, improved soil health, and a sustainable approach to chicken keeping. Enjoy the process! "It’s incredibly satisfying to see your design come to life and know you built a functional and sustainable chicken haven," says Sarah Miller, a permaculture farmer and author of "Homesteading on a Budget."